Transforming Your Space: A Step-by-Step Guide to Converting a Can Light into a Pendant Light

Are you tired of the generic can lights in your home, craving a change that adds personality and style? Look no further! In this blog, we’ll walk you through the process of converting a can light into a trendy pendant light, injecting a touch of elegance and individuality into your living space. With a few basic tools, a little patience, and a dash of creativity, you’ll be amazed at how this simple transformation can revitalize your room.
Pendant lighting offers several advantages over can lighting when it comes to farmhouse decor. Here are a few reasons why pendant lighting may be a better choice for your farmhouse:
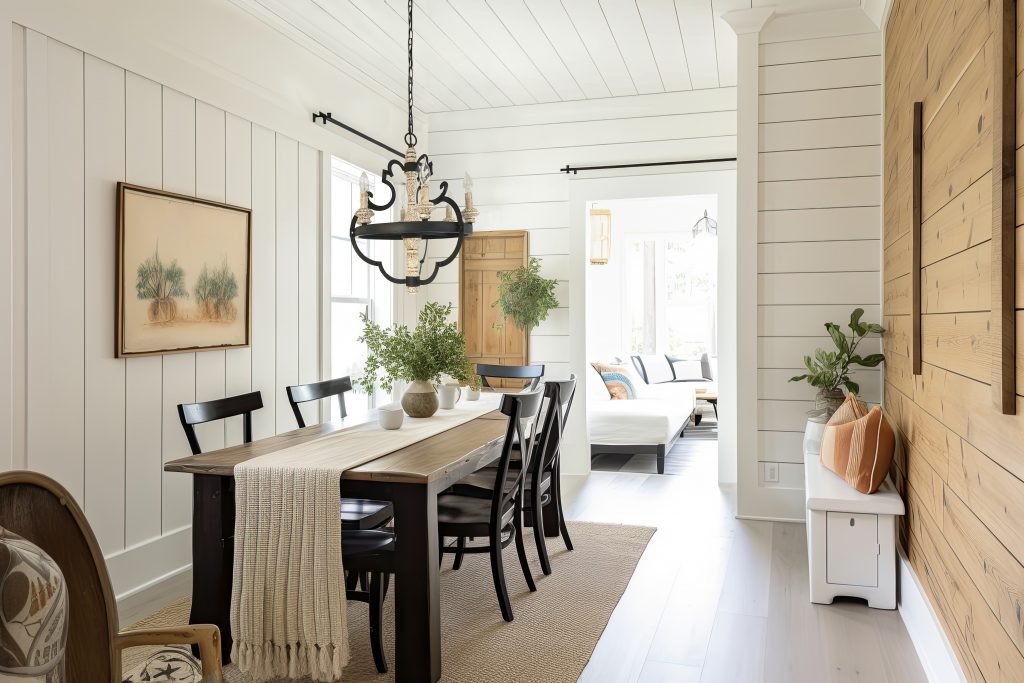
- Aesthetics: Pendant lights can add a touch of charm and character to your farmhouse. Their decorative fixtures, available in a wide range of styles, materials, and finishes, can complement the rustic and vintage aesthetic often associated with farmhouse decor. Pendant lights with metal, glass, or natural materials like wood or wicker can evoke a warm and inviting atmosphere, enhancing the overall farmhouse ambiance.
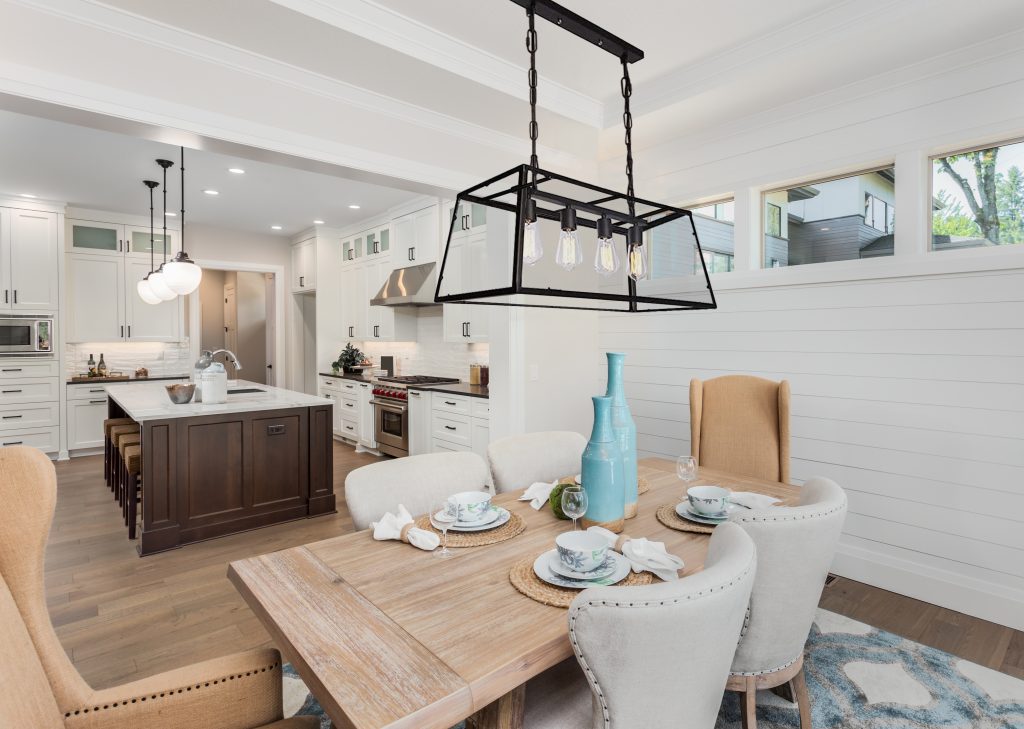
- Focal Points: Pendant lights act as eye-catching focal points in a room. By hanging them over specific areas such as kitchen islands, dining tables, or entryways, you can draw attention to these key spaces and create visual interest. Pendant lights with unique designs or statement pieces can become conversation starters and contribute to the overall design scheme of your farmhouse.
- Adjustable Lighting: Pendant lights typically offer adjustable heights, allowing you to customize the lighting to suit your needs. This feature is especially useful in farmhouse spaces where different activities take place, such as preparing meals in the kitchen or hosting gatherings in the dining area. By adjusting the height of the pendant lights, you can create a cozy and intimate atmosphere or provide ample illumination for tasks and gatherings.
- Versatility: Pendant lights come in various sizes, shapes, and designs, making them versatile for different areas in your farmhouse. You can choose smaller pendants for intimate spaces or cluster multiple pendants for a dramatic effect. Pendant lights can be used in kitchens, dining rooms, living rooms, entryways, and even bedrooms, allowing you to extend the farmhouse style throughout your entire home.
- Soft, Ambient Lighting: Pendant lights offer a softer and more diffused lighting compared to can lights. The downward direction of the light from pendant fixtures creates a warm and ambient glow that can make your farmhouse feel cozy and inviting. This type of lighting is well-suited for creating a relaxed and comfortable atmosphere, perfect for unwinding after a long day or enjoying intimate gatherings with family and friends.
While can lights have their own advantages, such as providing general and evenly distributed lighting, pendant lights bring a unique and decorative element that enhances the farmhouse style. By incorporating pendant lighting into your farmhouse, you can elevate the overall aesthetic and create a warm, welcoming, and visually appealing space.
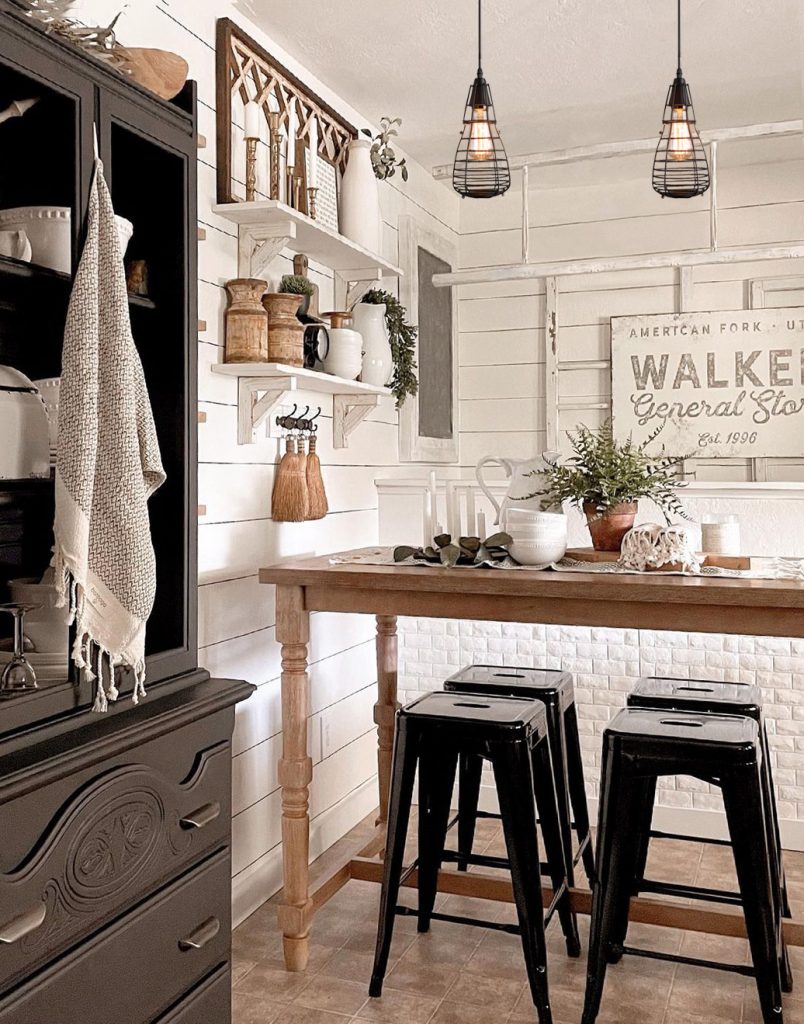
Utilitarian Trouble Light Pendant
Steps to Converting a Can Light into a Pendant Light
Step 1: Gather Your Supplies
Before embarking on your pendant light project, make sure you have the following tools and materials:
- A pendant light kit: Look for one that suits your aesthetic preferences and fits the dimensions of your can light.
- Wire cutters/strippers.
- Screwdrivers (flathead and Phillips).
- Pliers.
- Electrical tape.
- Ladder or step stool.
- Optional: a ceiling medallion or decorative canopy to enhance the visual appeal.
Step 2: Safety First
Whenever working with electricity, safety should be your top priority. Begin by turning off the power to the can light at the circuit breaker. Double-check that the light is off by testing the switch. If you have any doubts about your electrical skills, it’s wise to consult a professional.
Step 3: Remove the Can Light Trim
Using a screwdriver, gently remove the trim from the can light. Set the screws aside for future use. Once the trim is removed, you’ll have a clear view of the recessed can housing.
Step 4: Disconnect the Can Light
Inside the housing, you’ll find a socket plate held in place by a few screws. Unscrew the plate and carefully disconnect the wires. Pay close attention to how they are connected, as you’ll need this information when installing the pendant light kit.
Step 5: Install the Pendant Light Kit (see more at the end of this article)
Follow the instructions provided with your pendant light kit to install it properly. Begin by attaching the mounting bracket to the ceiling junction box. Take note of the pendant’s length and adjust it accordingly before connecting the wires.
Step 6: Connect the Wires
With the mounting bracket in place, connect the wires from the pendant light kit to the corresponding wires in the ceiling junction box. Typically, this involves connecting the black wires (hot), white wires (neutral), and green or copper wires (ground). Use wire connectors and ensure each connection is secure. Wrap electrical tape around the connectors for added protection.
Step 7: Secure the Pendant Light
Once the wiring is complete, secure the pendant light to the mounting bracket using the provided screws. Make sure it hangs straight and at the desired height. If you’re using a ceiling medallion or decorative canopy, attach it to the ceiling first, then hang the pendant light from it.
Step 8: Restore Power and Test
Once you’ve double-checked all connections and everything is secure, restore power at the circuit breaker. Test the pendant light by flipping the switch. Marvel at the beautiful new addition to your space!
Step 9: Finishing Touches
Stand back and admire your handiwork! If desired, you can paint the recessed can housing to match the ceiling or add a decorative trim piece to conceal it. Get creative and add personal touches that align with your style and home decor.
Congratulations! You’ve successfully transformed a mundane can light into an eye-catching pendant light, breathing new life into your living space. By following these step-by-step instructions, you’ve gained the confidence to take on more DIY projects and unleash your creativity. Remember, safety should always come first when working with electricity, so don’t hesitate to.
Wait, What is a Pendant Light Kit?
A pendant light kit is a pre-packaged set of components that includes everything you need to convert a can light or recessed light into a pendant light. It typically contains the necessary hardware, electrical wiring, and a pendant light fixture.
Here are the main components you can expect to find in a pendant light kit:
- Socket or Socket Plate: This is the part that holds the light bulb and connects it to the electrical wiring. It may include a cord with a plug or a mounting plate with screw terminals.
- Cord or Chain: The pendant light kit may come with a cord or chain that connects the pendant light fixture to the electrical supply. This cord or chain is often adjustable in length, allowing you to customize the hanging height of the pendant light.
- Canopy: The canopy is a decorative cover that attaches to the ceiling to hide the electrical junction box and provide support for the pendant light. It adds a polished look to the installation and can be included in some pendant light kits.
- Mounting Bracket: A mounting bracket is used to secure the pendant light fixture to the ceiling junction box. It provides stability and support for the pendant light.
- Hardware and Screws: The kit usually includes the necessary screws, nuts, and bolts required for installation. These are used to attach the various components together securely.
- Wiring: The pendant light kit will include electrical wires to connect the pendant light fixture to the electrical supply. These wires are typically color-coded for easy identification (black for hot, white for neutral, and green or copper for ground).
It’s important to note that the specific contents of a pendant light kit may vary depending on the manufacturer and model. It’s recommended to carefully read the instructions provided with the kit to ensure you have a complete understanding of its components and how to install them correctly.
Pendant light kits are designed to simplify the process of converting a can light into a pendant light, making it more accessible for homeowners to achieve a stylish lighting upgrade in their space without the need for extensive electrical knowledge or custom fabrication.